-
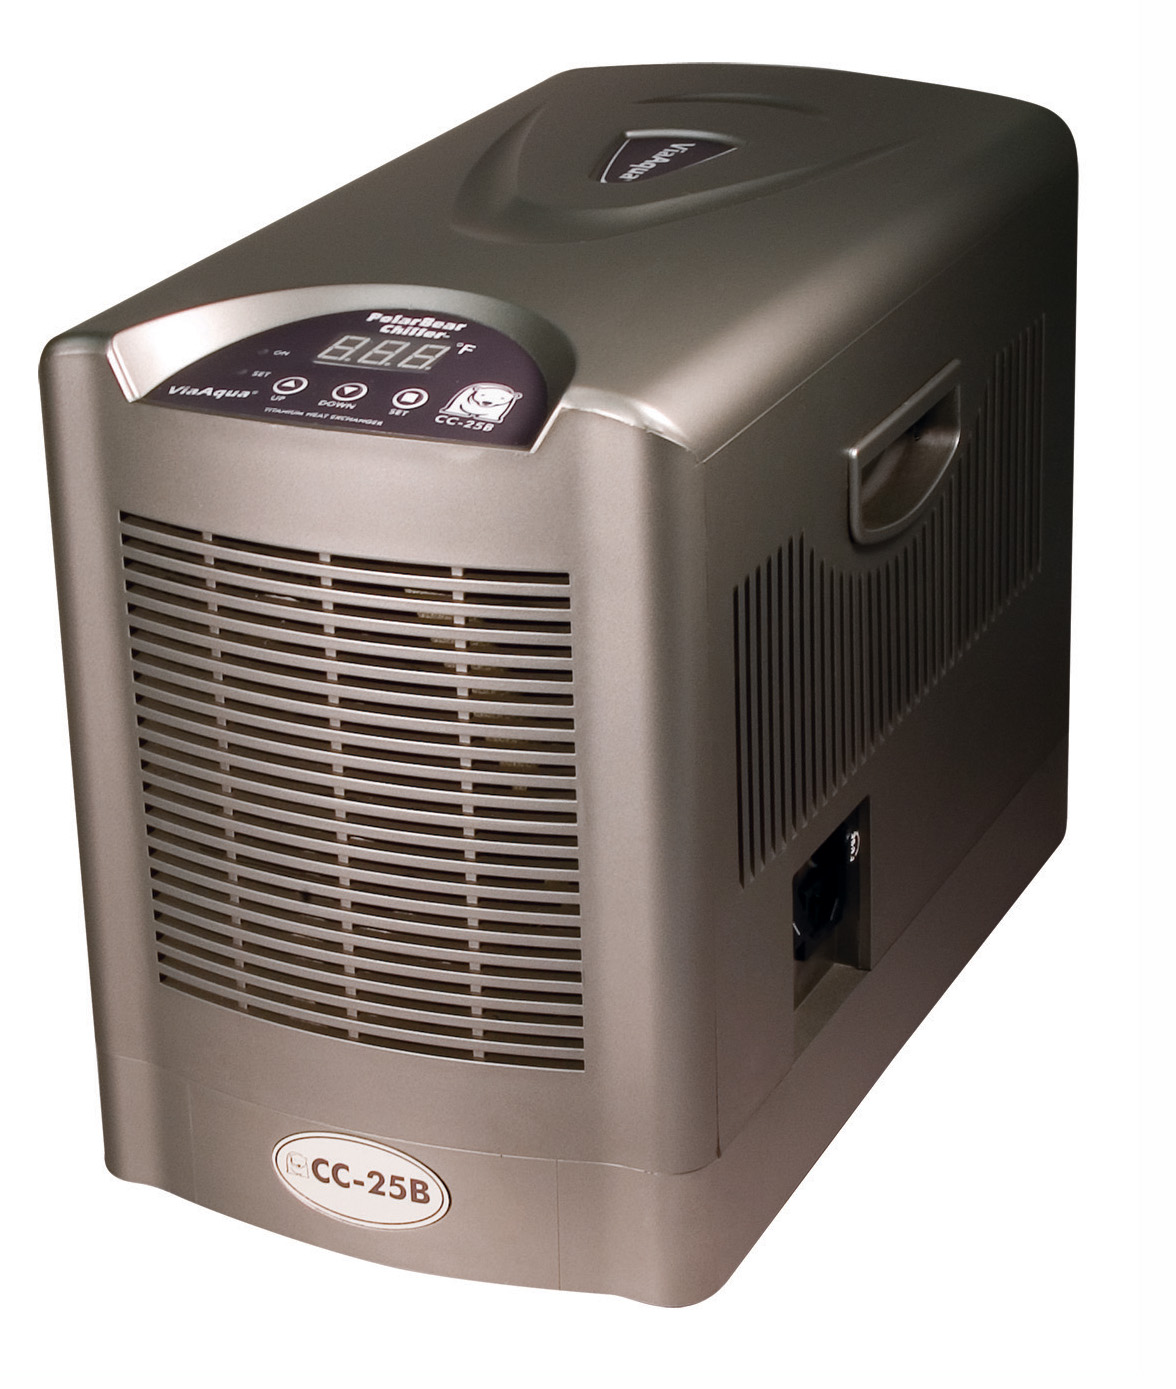
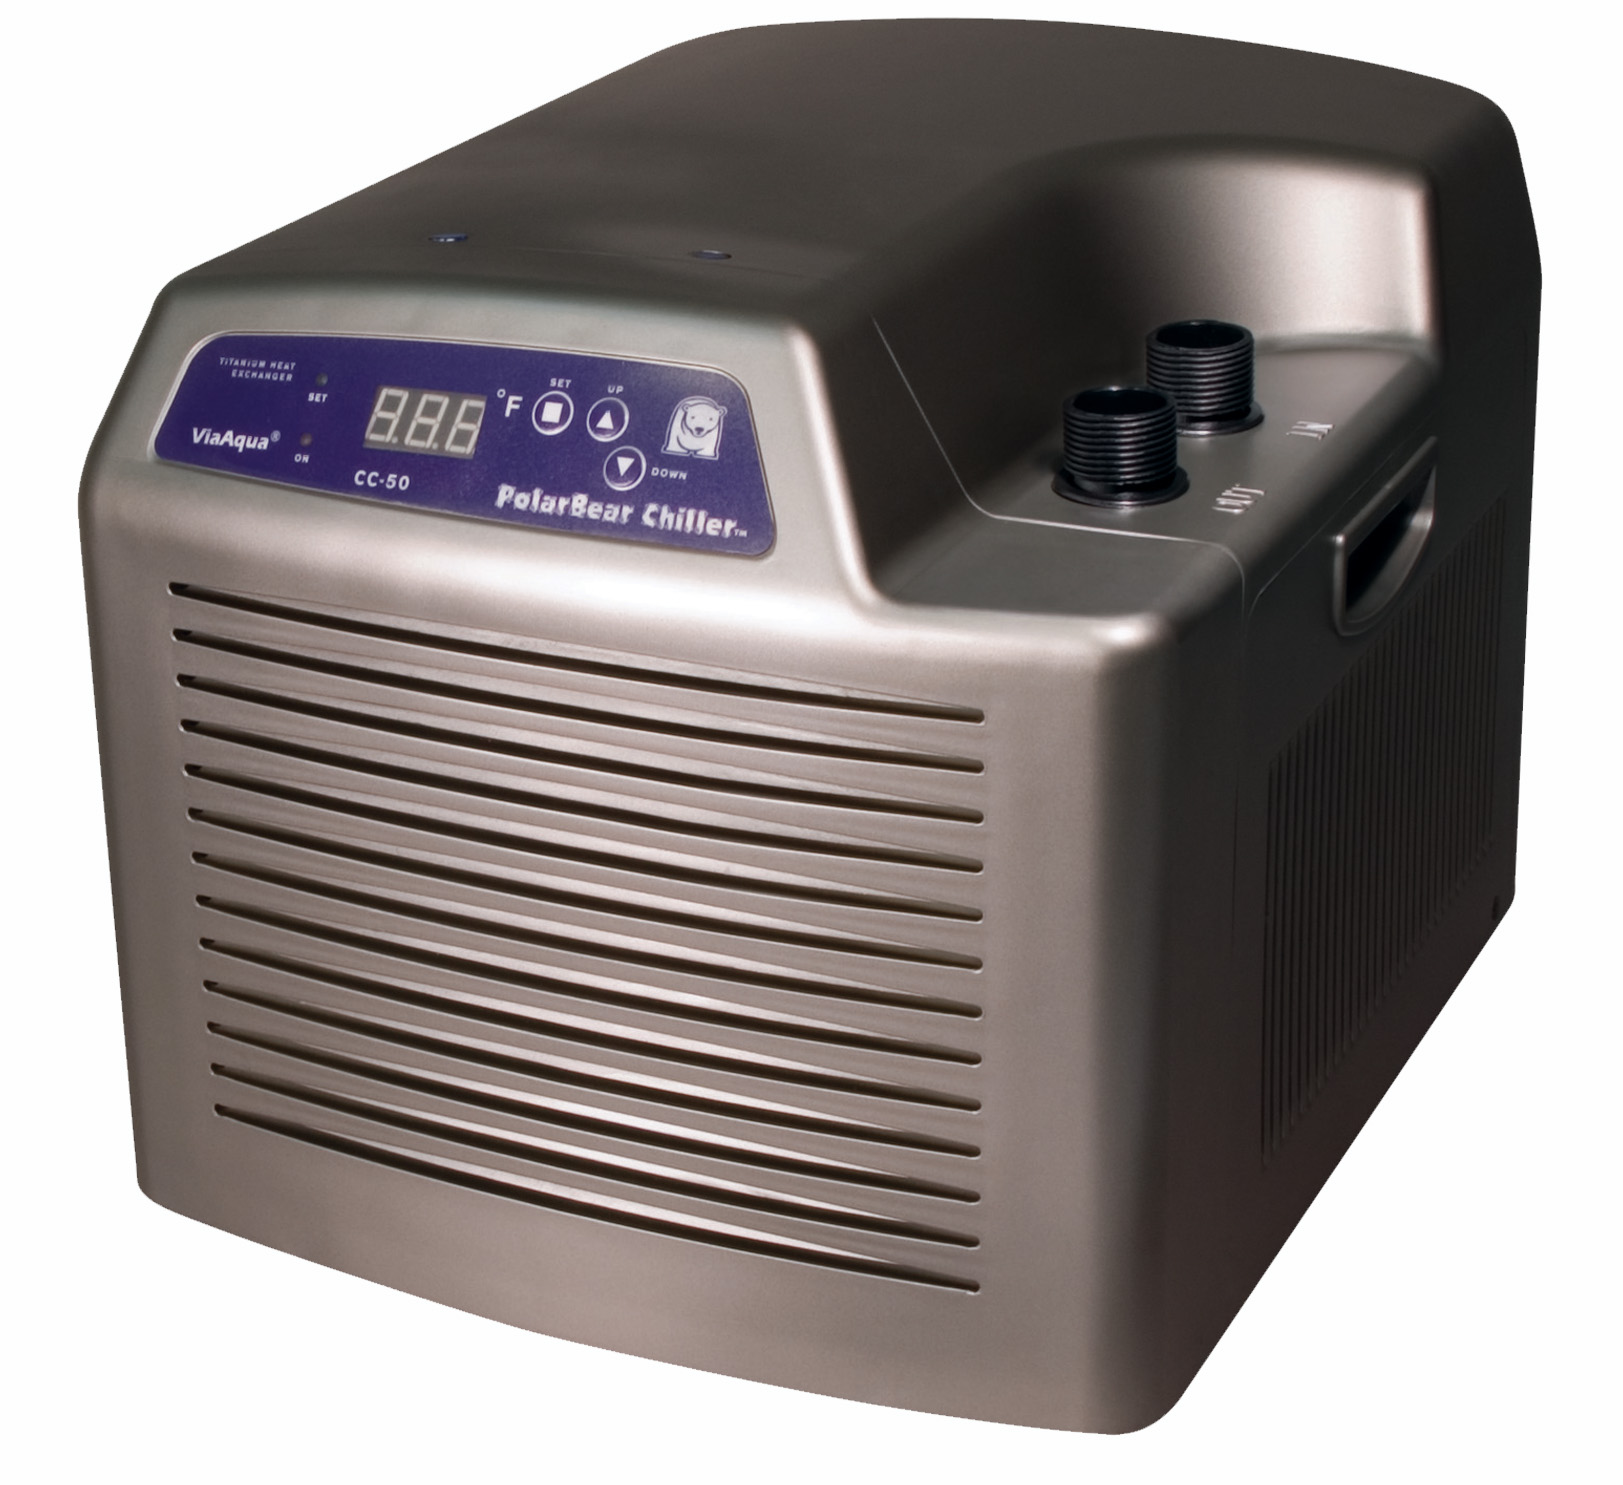
Models:
Product Specifications 

Model CC-25B CC-50 Voltage 120 v 120 v rated capacity 450 watt 850 watt Current 2 amp 3.5 amp Refrigerant R 134a R 134a Refrigerant Weight 120 g 220 g Min. – Max. water flow 100 GPH – 400 GPH 100 GPH – 400 GPH Inlet and outlet 5/8 – 3/4 in. 5/8 – 3/4 in. Aquarium Size up to 75 gallon tank up to 125 gallon tank Unit Dimensions 14.2 x 8.2 x 10.5 in. 16 x 13.2 x 12 in. UPC #0069037 2770 9 1366 5 -
Parts:
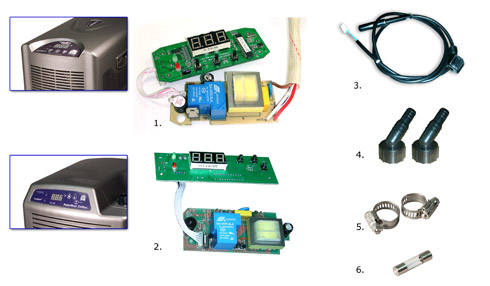
Replacement Parts - CC-25B circuit board
- CC-50 circuit board
- Sensor probe
- Tubing adapter
- Hose clamp
- Fuse (F12a)
-
Installation:
Required Tools (not included): Hose clamps and water source.
- Place the chiller in a well ventilated level surface.
- Attach the barbed compression fitting to the chiller intake and output.
Attach flexible tubing to the intake barb on the chiller using a hose clamp to ensure tightness. - Connect to water supply or water pump to the unit. Water flow should be a min. of 100 GPH and not to exceed 400 GPH. It is recommended to pre-filter the water first.
Attach a piece of flexible tubing to the output barb of the chiller using a hose clamp.
Verify that the water returning from the chiller is not in close proximity to the intake water source. - Secure the return line.
- Verify that there are not any kinks in the tubing supplying water to the chiller or in the output tube returning water to the aquarium or sump.
- Turn on water pump or water supply.
- Check all connections to verify that there are not any leaks.
SETTING THE THERMOSTAT:
- Plug the chiller into a G.F.C.I. outlet.
- Switch the unit ON.
- The LED screen now will read the temperature of the current aquarium water.
Press the SET button. The LED screen will now flash and the green led light will be lit.
Adjust the temperature using the UP/DOWN buttons. Once the LED screen reads the correct temperature, Press the SET button again. The green LED light will then go out. - There is a 2-3 minute delay prior to the chiller turning on. When the chiller is ON, the green LED light will be lit.
Note:
- If installing on a preexisting aquarium, lower the temperature by 1-2 degrees per day.
- If the unit is turned off, it will take a minimum of 3 min. to come back on. It will take up to 5 min. for the computer/thermostat to adjust to the aquarium temperature and the set temperature prior to turning on.
downloadPolar Bear™ Chiller Instructions. If you have problem opening PDF file from Internet Explorer,
please try Firefox or right click on the link and select Save Target As and save the PDF file in your computer. -
Maintenance:
- It is recommended to clean the radiator once a month. To do this, gently vacuum the radiator to remove all dust and debris.
- Do not hose down or use water to clean the radiator or other external components.
Once a month, flush the internal heat exchanger with clean fresh water. Do not use any soap or detergents. - Do not submerge in water. The chiller must be completely free of all moisture.
- Once a month, clean the pre-filter of the pump supplying water to the chiller.
Note: If you have any questions or concerns about working on the chiller, always consult a certified electrician first.
“EL” or “EH” is displayed
In general, the primary reason for “EL” or “EH” to be displayed is when the temperature sensor has malfunctioned. Please refers the instruction below for proper directions. -
REPLACEMENT OF TEMPERATURE SENSOR Important: Always consult a certified electrician first if you have any questions or concerns about working on the chiller. Required tools: wire cutters and Phillips screw driver. FOR MODEL CC-25B - Unplug the chiller.
- Unplug/disconnect the water being supplied to the chiller.
- Disconnect tubing.
- Drain the water from the heat exchanger.
- Remove the eight screws that hold on the cover of the chiller.
- Remove cover. Caution: Connected to the cover is the temperature controller. Remove slowly. Then, disconnect the connection between the cover/controller and the chiller.
- On the heat exchanger is compression fitting holding the sensor. Loosen the fitting and slide out the sensor.
- With a pair of dykes, remove the zip ties holding the sensor wire.
- Disconnect the sensor from the temperature controller.
- Install new sensor. Use Teflon tape on the compression nut.
- Secure sensor wire with new zip ties cutting off excess.
- Reconnect the temperature controller.
- Replace cover and secure with screws.
- Reinstall.
FOR MODEL CC-50
- Unplug chiller.
- Unplug/disconnect the water supplied to the chiller.
- Disconnect tubing.
- Drain the water from the heat exchanger.
- Remove compression tubing connectors.
- Remove the six screws that secure the back cover of the chiller.
- Remove back cover. Caution: connected to the front cover of the chiller is the temperature controller. Remove slowly.
- Disconnect wire from controller to chiller using the white quick wire disconnect.
- Remove the four screws that secure the front cover to the chiller.
- Cut zip ties around the insulation and wires going to the compressor and heat exchanger.
- Remove the black plastic cover for the temperature controller. There are two circuit boards installed in the cover.
- Remove 1st board by removing the four screws that secure the board.
- Then remove the 2nd board by removing the two screws that secure the board.
- Loosen the compression fitting securing the sensor in the heat exchanger.
- Follow the sensor wire to the circuit board and disconnect (Note: secure both sides of the wire, disconnect and remove).
- Remove the sensor.
- Keep the compression nut that connects to the heat exchanger in place.
- Slide the compression nut onto the new senor if not already installed.
- Now, reconnect the new sensor to board.
- Secure the sensor back into the heat exchanger.
- Secure all wiring and insulation with zip ties.
- Replace circuit boards back into the black plastic cover in the order they where removed.
- Replace covers and secure with screws.
- Reinstall unit.
Replacment of Temperature sensor:

Vestibulum curae torquent diam diam commodo parturient penatibus nunc dui adipiscing convallis bulum parturient suspendisse parturient a.Parturient in parturient scelerisque nibh lectus quam a natoque adipiscing a vestibulum hendrerit et pharetra fames nunc natoque dui.